
In this article, I am going to describe how to properly set up the marlin configuration.h file to run your homemade 3D printer
About marlin configuration set up
Actually we are going inform to the machine which hardware we have used & how the machine will perform so it is very important that which hardware you have used to make the 3D printer.
I am going to describe the basic configuration with most popular used hardware but If you have used different hardware then please select your hardware.
Hardware which I have used- please check it
At first Download The marlin firmware & unzip it. Then go to marlin folder & open marlin.ino file using Arduino Ide.( If you have not,please download arduino IDE at first)
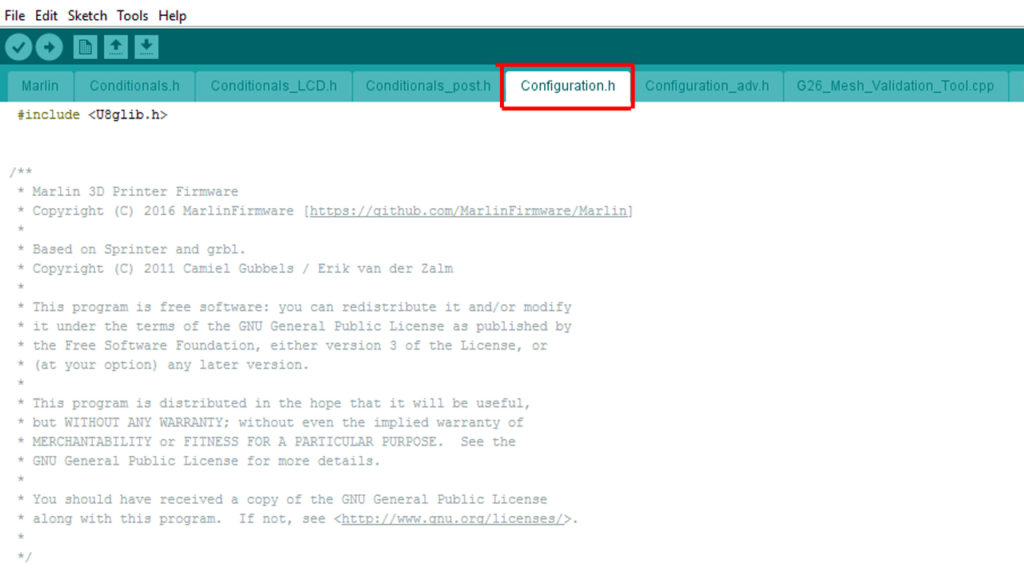
Now select the configuration.h tab.
Here are all the possible hardware & setting, we have to activate the setting by removing (// ) asper our hardware
Set board rate to 115200
/**
 * This setting determines the communication speed of the printer.
 *
 * 250000 works in most cases, but you might try a lower speed if
 * you commonly experience drop-outs during host printing.
 * You may try up to 1000000 to speed up SD file transfer.
 *
 * :[2400, 9600, 19200, 38400, 57600, 115200, 250000, 500000, 1000000]
 */
#define BAUDRATE 115200
Select motherboard
// The following define selects which electronics board you have.
// Please choose the name from boards.h that matches your setup
#ifndef MOTHERBOARD
  #define MOTHERBOARD BOARD_RAMPS_14_EFB
#endif
Select Extruder number & filament
I am using a single Extruder & 1.75 mm filament
// This defines the number of extruders
// :[1, 2, 3, 4, 5]
#define EXTRUDERS 1

// Generally expected filament diameter
 (1.75, 2.85, 3.0, ...). Used for Volumetric,
Filament Width Sensor, etc.
#define DEFAULT_NOMINAL_FILAMENT_DIA 1.75
Select the power switch
I have not used any power switch so I have selected ( 0 )
 * Select your power supply here. Use 0 if you haven't connected the PS_ON_PIN
 *
 * 0 = No Power Switch
 * 1 = ATX
 * 2 = X-Box 360 203Watts (the blue wire connected to PS_ON and the red wire to VCC)
 *
 * :{ 0:'No power switch', 1:'ATX', 2:'X-Box 360' }
 */
Thermal Settings
It is a very important setting. here we have to set which temperature sensor or 100k thermistor we have used. I used two 100K thermistors for Hot end & the Bed so I have chosen option (1) & others are not used so it is (0)
define TEMP_SENSOR_0 1
#define TEMP_SENSOR_1 0
#define TEMP_SENSOR_2 0
#define TEMP_SENSOR_3 0
#define TEMP_SENSOR_4 0
#define TEMP_SENSOR_BED 1
#define TEMP_SENSOR_CHAMBER 0
Setting maximum & minimum temperature
// The minimal temperature defines the temperature below
 which the heater will not be enabled It is used
// to check that the wiring to the thermistor is not broken.
// Otherwise this would lead to the heater being powered on all the time.
#define HEATER_0_MINTEMP 5
#define HEATER_1_MINTEMP 5
#define HEATER_2_MINTEMP 5
#define HEATER_3_MINTEMP 5
#define HEATER_4_MINTEMP 5
#define BED_MINTEMP 5

// When temperature exceeds max temp, your
heater will be switched off.
// This feature exists to protect your
 hotend from overheating accidentally, but *NOT* from thermistor short/failure!
// You should use MINTEMP for thermistor short/failure protection.
#define HEATER_0_MAXTEMP 250
#define HEATER_1_MAXTEMP 275
#define HEATER_2_MAXTEMP 275
#define HEATER_3_MAXTEMP 275
#define HEATER_4_MAXTEMP 275
#define BED_MAXTEMP 130
Prevent cold extrusion
// @section extruder

/**
 * Prevent extrusion if the temperature is below EXTRUDE_MINTEMP.
 * Add M302 to set the minimum extrusion temperature and/or turn
 * cold extrusion prevention on and off.
 *
 * *** IT IS HIGHLY RECOMMENDED TO LEAVE THIS OPTION ENABLED! ***
 */
#define PREVENT_COLD_EXTRUSION
#define EXTRUDE_MINTEMP 170
Prevent long extrusion
* Prevent a single extrusion longer than EXTRUDE_MAXLENGTH.
 * Note: For Bowden Extruders make this large enough to allow load/unload.
 */
#define PREVENT_LENGTHY_EXTRUDE
#define EXTRUDE_MAXLENGTH 200
Enable thermal runway protections
//===========================================================================
//======================== Thermal Runaway Protection =======================
//===========================================================================

/**
 * Thermal Protection provides additional protection to your printer from damage
 * and fire. Marlin always includes safe min and max temperature ranges which
 * protect against a broken or disconnected thermistor wire.
 *
 * The issue: If a thermistor falls out, it will report the much lower
 * temperature of the air in the room, and the the firmware will keep
 * the heater on.
 *
 * If you get "Thermal Runaway" or "Heating failed" errors the
 * details can be tuned in Configuration_adv.h
 */

#define THERMAL_PROTECTION_HOTENDS // Enable thermal protection for all extruders
#define THERMAL_PROTECTION_BED     // Enable thermal protection for the heated bed
End stop setting
I have used 3 mechanical end stop for min end stop, max end stop used.
// Specify here all the endstop connectors that are connected to any endstop or probe.
// Almost all printers will be using one per axis. Probes will use one or more of the
// extra connectors. Leave undefined any used for non-endstop and non-probe purposes.
#define USE_XMIN_PLUG
#define USE_YMIN_PLUG
#define USE_ZMIN_PLUG
//#define USE_XMAX_PLUG
//#define USE_YMAX_PLUG
//#define USE_ZMAX_PLUG
Stepper motor driver
If you are using A4988 stepper driver then no need to change the driver name otherwise chang with your stepper driver number.A4988 is a default driver.
 * A4988 is assumed for unspecified drivers.
 *
 * Options: A4988, DRV8825, LV8729, L6470, TB6560, TB6600, TMC2100,
 *          TMC2130, TMC2130_STANDALONE, TMC2208, TMC2208_STANDALONE,
 *          TMC26X,  TMC26X_STANDALONE,  TMC2660, TMC2660_STANDALONE,
 *          TMC5130, TMC5130_STANDALONE
 * :['A4988', 'DRV8825', 'LV8729', 'L6470', 'TB6560', ',
 */
//#define X_DRIVER_TYPE  A4988
//#define Y_DRIVER_TYPE  A4988
//#define Z_DRIVER_TYPE  A4988
//#define X2_DRIVER_TYPE A4988
//#define Y2_DRIVER_TYPE A4988
//#define Z2_DRIVER_TYPE A4988
//#define E0_DRIVER_TYPE A4988
//#define E1_DRIVER_TYPE A4988
//#define E2_DRIVER_TYPE A4988
//#define E3_DRIVER_TYPE A4988
//#define E4_DRIVER_TYPE A4988
Movement setting
It is very important for getting proper sized 3D printed object. we have to set Axis steps per unit for X,Y,Z & Extruder. you have to know your printer axis steps per unit value. It depends on stepper motor, pully & belt.
You can calculate you axis steps per unit value from here. my printer’s value is given bellow.
#define DEFAULT_AXIS_STEPS_PER_UNIT   { 80, 80, 400, 97.5 }

/**
 * Default Max Feed Rate (mm/s)
 * Override with M203
 *                                      X, Y, Z, E0 [, E1[, E2[, E3[, E4]]]]
 */
#define DEFAULT_MAX_FEEDRATE          { 300, 300, 5, 25 }

/**
 * Default Max Acceleration (change/s) change = mm/s
 * (Maximum start speed for accelerated moves)
 * Override with M201
 *                                      X, Y, Z, E0 [, E1[, E2[, E3[, E4]]]]
 */
#define DEFAULT_MAX_ACCELERATION      { 2000, 2000, 100, 10000 }
#define DEFAULT_ACCELERATION 3000
// X, Y, Z and E acceleration for printing moves
#define DEFAULT_RETRACT_ACCELERATION 3000
// E acceleration for retracts
#define DEFAULT_TRAVEL_ACCELERATION 3000
// X, Y, Z acceleration for travel (non printing) moves
/**
* Default Jerk (mm/s)
* Override with M205 X Y Z E
*
* "Jerk" specifies the minimum speed change that requires acceleration.
* When changing speed and direction, if the difference is less than the
* value set here, it may happen instantaneously.
*/
#define DEFAULT_XJERK 10.0
#define DEFAULT_YJERK 10.0
#define DEFAULT_ZJERK 0.3
#define DEFAULT_EJERK 5.0
Inverting stepper motor
If any axis of your 3D printer running in the wrong direction then you can fix it by changing stepper wire connection or you can change bellow settings.
// For Inverting Stepper Enable Pins (Active Low) use 0,
Non Inverting (Active High) use 1
// :{ 0:'Low', 1:'High' }
#define X_ENABLE_ON 0
#define Y_ENABLE_ON 0
#define Z_ENABLE_ON 0
#define E_ENABLE_ON 0 // For all extruders

// Disables axis stepper immediately when it's not being used.
// WARNING: When motors turn off there is a chance of losing position accuracy!
#define DISABLE_X false
#define DISABLE_Y false
#define DISABLE_Z false
// Warn on display about possibly reduced accuracy
//#define DISABLE_REDUCED_ACCURACY_WARNING

// @section extruder

#define DISABLE_E false // For all extruders
#define DISABLE_INACTIVE_EXTRUDER true // Keep only the active extruder enabled.
// @section machine

// Invert the stepper direction. Change
 (or reverse the motor connector)
 if an axis goes the wrong way.
#define INVERT_X_DIR false
#define INVERT_Y_DIR true
#define INVERT_Z_DIR false

// @section extruder

// For direct drive extruder v9 set to true, for geared extruder set to false.
#define INVERT_E0_DIR false
#define INVERT_E1_DIR false
#define INVERT_E2_DIR false
#define INVERT_E3_DIR false
#define INVERT_E4_DIR false
Selection homing & bed size
I have used 200 mm X 200 mm bed in my printer.
// Direction of endstops when homing; 1=MAX, -1=MIN
// :[-1,1]
#define X_HOME_DIR -1
#define Y_HOME_DIR -1
#define Z_HOME_DIR -1

// @section machine

// The size of the print bed
#define X_BED_SIZE 200
#define Y_BED_SIZE 200

// Travel limits (mm) after homing, corresponding to endstop positions.
#define X_MIN_POS 0
#define Y_MIN_POS 0
#define Z_MIN_POS 0
#define X_MAX_POS X_BED_SIZE
#define Y_MAX_POS Y_BED_SIZE
#define Z_MAX_POS 200
It was the basic marlin setting,
after all settings have done select board Arduino mega on Arduino IDE select port & upload the code to Arduino mega. Download pronterface software to run the 3D printer.
This goes far beyond the commenting! It wrote his ideas while reading the post amazingly::)
Best regards,
Lunding Schneider