
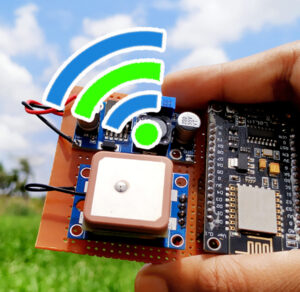
In this tutorial, I am going to describe how to make a GPS tracker for a bike, Car or any other vehicle. You can track your vehicle location using a smartphone.
For this tracker, no need to pay any extra service charge, only you have to pay a data charge to your sim card service provider.
You can use any sim card with your 3G / 4G portable wifi router.
You need to make
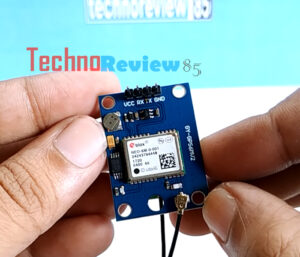
- NEO 6M v2 GPS module
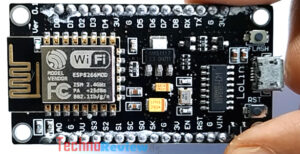
- Esp 8266 node MCU( Lolin)
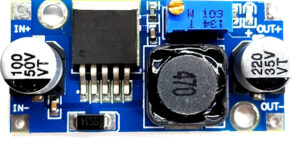
- LM2596 DC-DC Adjustable Buck Step Down Module
- Female header pins
- Dotted vero board
- A Portable router device
A portable wifi router device, I am using a jio-fi device
You can use any other wireless Router
How it works

The GPS module is sending position data to node MCU.
The node MCU is connected to the Internet using wifi so it sending data to Blynk server. Now the user receives the position data via blynk app.
the Blynk app Not only shows the latitude & longitude data
it also shows the position on Google map of the GPS module
So the user can know the position of the GPS device from the anywhere in the world.
How to make
Blynk app setup
Download the blynk app from play store.
Sign up using email id
Login in to blynk app.
Sign up using email id
Login in to blynk app & Creat a project
Keep project name GPS, Device ESP 8266, connection type wifi
After the project is successfully created the blynk will send you an authentication token at your email id.
It is very important, we need this code for our next process.
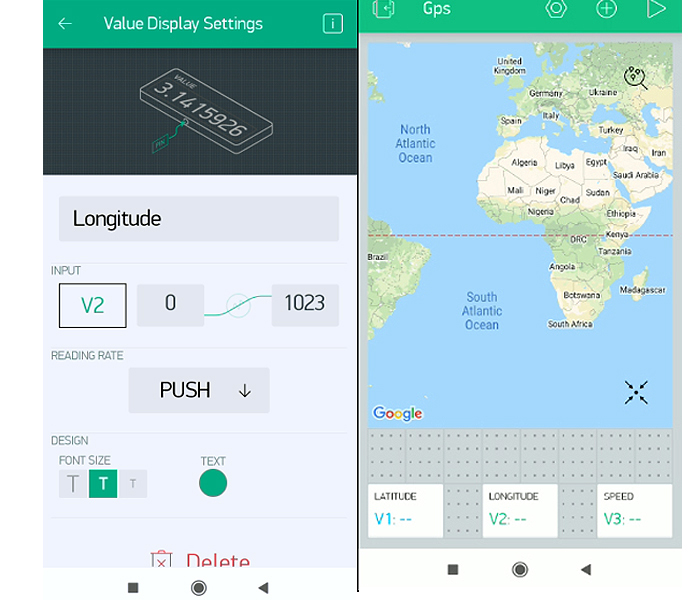
Add a Map widget & setup input pin as V0
Add 3 value display widgets
Name those widgets as Latitude,longitude & Speed
set those widget – Latitude input pin = V
Longitude input pin = V2 & speed = V3
our Blynk app set up is completed.
Arduino Code & Libraries
We are going to upload code to nodemcu using Arduino IDE so we must need esp8266 board support installation before start uploading. If you have already used esp8266 node mcu using your arduino IDE then nothing to do anything.
you have to add 2 libraries in your arduino IDE
1 > Tiny Gps Library
2 > Blynk Library
Download the gps tracker arduino code & libraries from here
Open the arduino code & put your router ” SSID” & Password
char auth[] = "*****************************";              //Your Blynk Project authentication key
char ssid[] = "Your ssid";                                  // Name of your network Router SSid)
char pass[] = "Your PW";                                      // Your Router Password
Put your Blynk project authentication code.
Now go to tools – board & select board – nodemcu 1.0 version
Select your comport And upload the code.
Hardware setup & connections
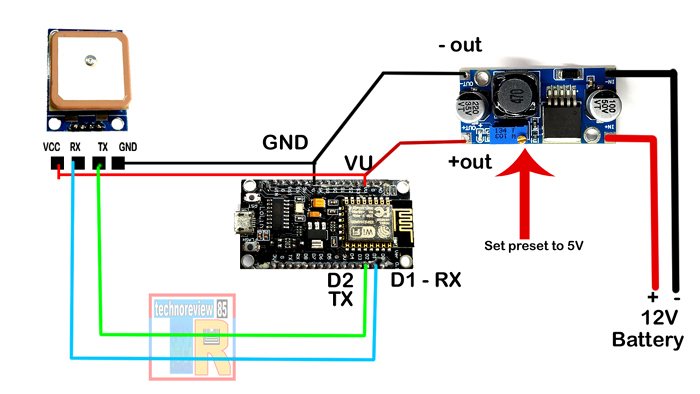
For testing connect nodemcu D1 pin to gps RX, D2 pin to gps TX
Nodemcu VU pin to gps vcc pin & Nodemcu Gnd to gps gnd
Now connect nodemcu using a 5v mobile charger or computer.
The small smd led on GPS module will blink once per second that means NEO 6M GPS module is connected to the satellite. you can check now your position on blink app or serial monitor of arduino IDE.
But when we are using it from a car or bike 12 v battery we have to connect a voltage step down module as a regulated power supply.
Keep mind : adjust the preset & keep the output voltage of step down modue to 5V. the components may burn if you use more than 5v on VU pin of nodemcu.
Keep your portable wireless router near your GPS tracker device because this tracker working with internet via the Router.
Video tutorial for this project
Woww….very impressive……
yeah very impressive!!!!