
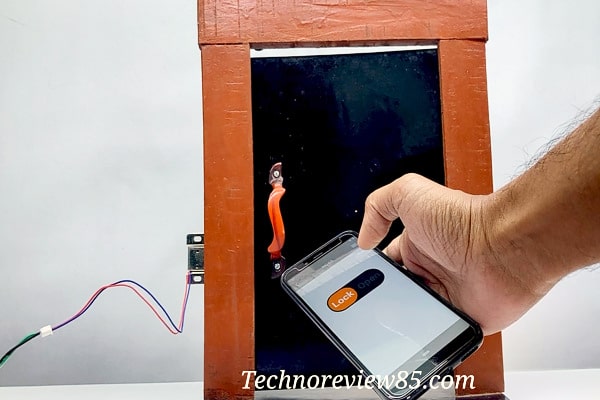
It is an Arduino based Door lock project. You can Look & unlock any door using your smartphone.
How does it work
It is a very simple Arduino based electronic door lock project. You can lock & unlock using a smartphone via Bluetooth.
Here we are using an android app “Remote XY” for operating the solenoid door lock.
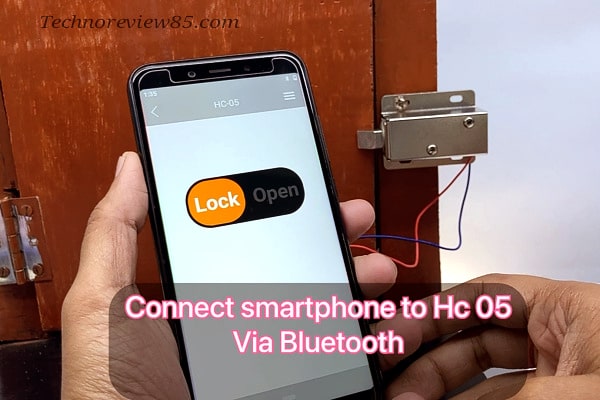
The smartphone is connected with Arduino via Bluetooth module Hc 05.
We are sending a command from a smartphone using the Remote XY app & then the Arduino digital pin 13 goes high & low.
The relay module is connected to Arduino pin 13 & the solenoid lock is connected to the relay module so we can control the solenoid lock by sending commands from the smartphone.
Arduino is running on 9v battery power & the Relay module & the solenoid lock is powered by an AC to DC 12v 1 amp power adapter.
You can use only 12v power for all circuits but there, you have to use a 5v regulator circuit for Arduino. For simplicity, I am going to use a 9v battery for Arduino & 12v adapter for solenoid lock & relay.
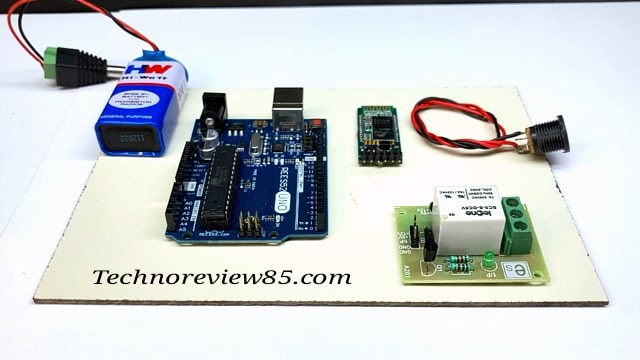
You need to make
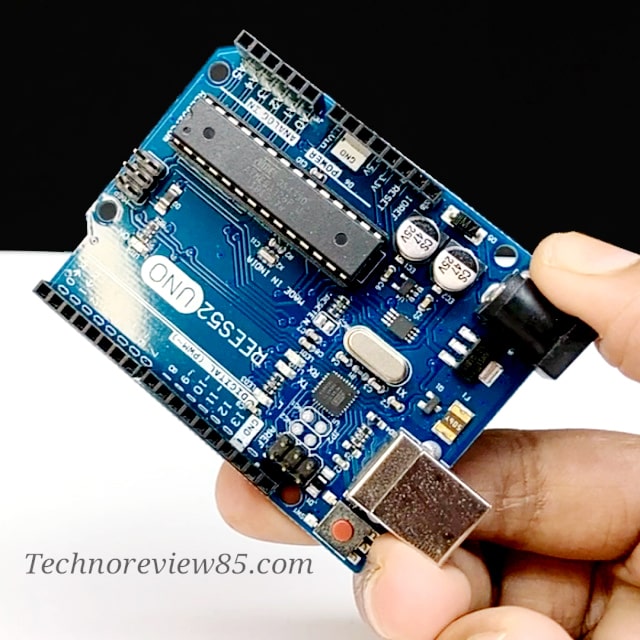
- Arduino UNO
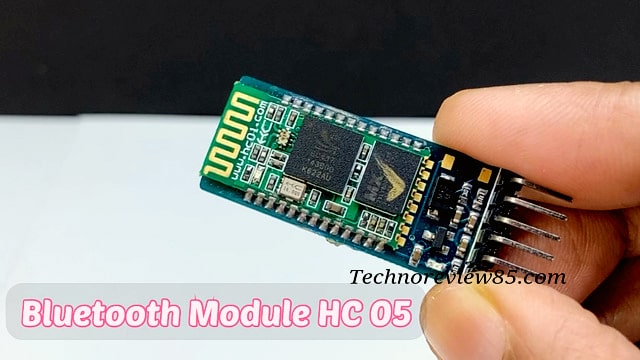
- Bluetooth module HC 05
- Single-channel Relay module
- Plywood
- 9V Battery
- DC socket
- Jumper wire
- 12 volt 1 AMP DC adapter
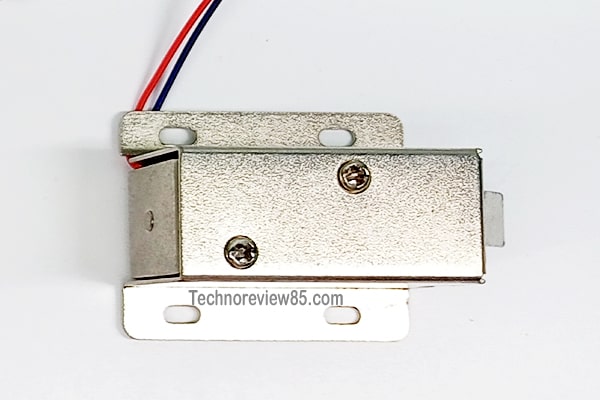
- Solenoid lock
- Smartphone ( Android or iPhone )

Connection & circuit diagram
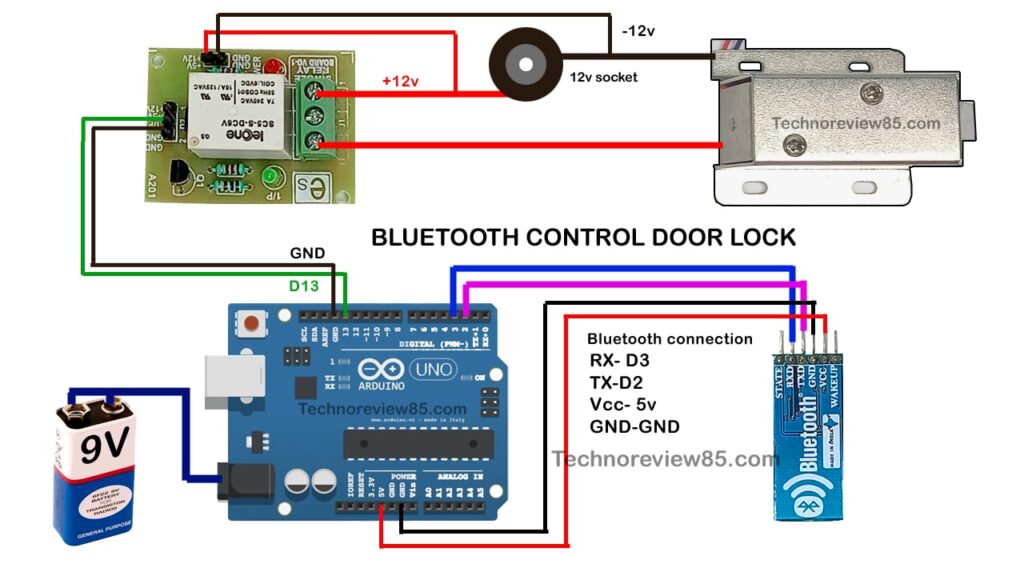
Bluetooth module TX is connected to Arduino pin D2
Bluetooth module RX is connected to Arduino pin D3
Bluetooth module VCC is connected to Arduino pin 5v
Bluetooth module GND is connected to Arduino pin GND
Relay module signal input pin is connected to Arduino D13
The solenoid lock is connected via relay module ( please follow connection diagram )
App & Arduino code
Here I have used the Remote XY app. you have to download & install the Remote XY app from the app store. It is a free app.
You have to install the Remote XY library in Arduino IDE – Download the Remote XY library from here.
After installation of the library create a new file on Arduino IDE then select all and press delete to make it blank. Now copy the following Arduino code & paste it into your new blank file & save it.
Connect Arduino Uno. Select board Arduino Uno, select proper comport & upload code to Arduino UNO.
Code –
/*
   -- New project --

   This source code of graphical user interface
   has been generated automatically by RemoteXY editor.
   To compile this code using RemoteXY library 3.1.7 or later version
   download by link http://remotexy.com/en/library/
   To connect using RemoteXY mobile app by link http://remotexy.com/en/download/
     - for ANDROID 4.9.02 or later version;
     - for iOS 1.6.2 or later version;

   This source code is free software; you can redistribute it and/or
   modify it under the terms of the GNU Lesser General Public
   License as published by the Free Software Foundation; either
   version 2.1 of the License, or (at your option) any later version.
*/

//////////////////////////////////////////////
//        RemoteXY include library          //
//////////////////////////////////////////////

// RemoteXY select connection mode and include library
#define REMOTEXY_MODE__SOFTSERIAL
#include <SoftwareSerial.h>

#include <RemoteXY.h>

// RemoteXY connection settings
#define REMOTEXY_SERIAL_RX 2
#define REMOTEXY_SERIAL_TX 3
#define REMOTEXY_SERIAL_SPEED 9600


// RemoteXY configurate
#pragma pack(push, 1)
uint8_t RemoteXY_CONF[] =
  { 255,1,0,0,0,23,0,14,31,1,
  2,1,9,22,45,19,2,25,31,31,
  79,112,101,110,0,76,111,99,107,0 };

// this structure defines all the variables and events of your control interface
struct {

    // input variables
  uint8_t switch_1; // =1 if switch ON and =0 if OFF

    // other variable
  uint8_t connect_flag;  // =1 if wire connected, else =0

} RemoteXY;
#pragma pack(pop)

/////////////////////////////////////////////
//           END RemoteXY include          //
/////////////////////////////////////////////

#define PIN_SWITCH_1 13


void setup()
{
  RemoteXY_Init ();

  pinMode (PIN_SWITCH_1, OUTPUT);

  // TODO you setup code

}

void loop()
{
  RemoteXY_Handler ();

  digitalWrite(PIN_SWITCH_1, (RemoteXY.switch_1==0)?LOW:HIGH);

  // TODO you loop code
  // use the RemoteXY structure for data transfer
  // do not call delay()


}
Open Remote XY app on a smartphone connect your smartphone to the HC05 Bluetooth module. The default password for pairing is 1234

Now here you can see the Lock & Open button on your smartphone.
You can also make your customised code using the Remote XY website.
Which rekais module do you use for this?
Super super super super super super super super super super super super