
If you are looking for a low budget computer for small official work or online study purposes then this article will be very helpful for you.
It is a slightly different concept of commuter. In regular tower pc, we can install Ram, Hard drive, different cards etc. those computers consume about 250 watts of power.
Besides the SBC ( single board computer ) has onboard Ram, its Os runs from a micro SD card & its power consumption is very small. It can run using a 5-volt smartphone charger.
So we can confidently tell it, The single-board computer will be taking a valuable role in the future of computing.
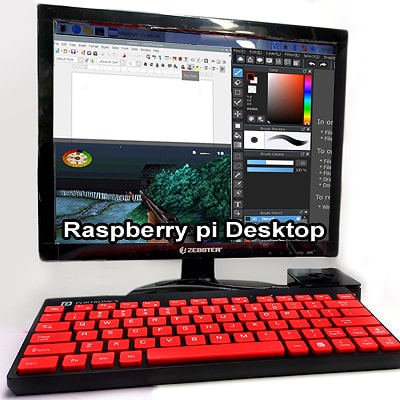
In this article, I am going to describe, how you can make a very low budget desktop computer using Raspberry Pi.

Raspberry pi is a popular single-board computer.
Raspberry pi OS & software are open-source. so no need to buy softwares.
What works can be done using Raspberry pi 4 Desktop
At first, I want to tell you that what works can you do with it & whatnot.
I am also going to discuss about gaming on Raspberry Pi.
So you can easily decide whether is it really useful for your work or not.
It is not a big sized tower PC with a windows operating system but it can run Windows app.
This computer has Wi-Fi, Bluetooth & Lan connectivity.
2 USB 2.0 & 2 USB 3.0 ports.
For sound output, you can use any audio speaker. Also, use a Bluetooth speaker, or headphones.
You can connect a pen drive, USB hard drive, printer, scanner, digital drawing pad, webcam, android phone via USB.
It can play 4k videos & support all popular audio & video formats like MP4, MPEG, MP3, Wav etc.
You can Copy & transfer files.
For official work here are Libre office suite software with it.
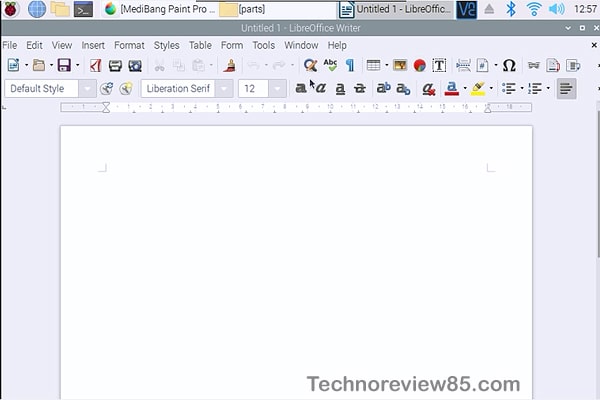
You can create, open, edit, save doc, Docx files, work with excel datasheet. Full function use of web browser, download, upload, browsing Google, Facebook, YouTube etc.
Other software for Raspberry pi OS
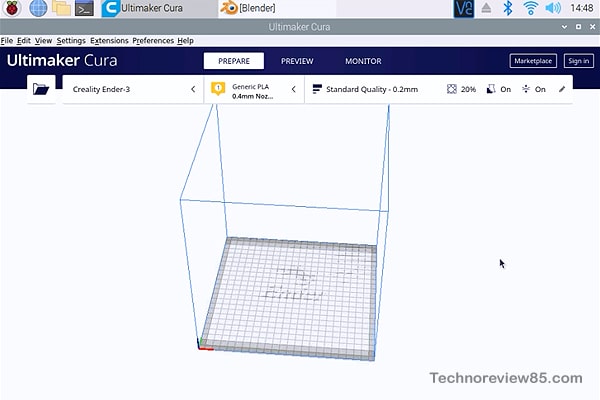
3d printer slicer software Cura is running smoothly.
What’s app, Zoom app is also available for it.
Blender, it is an open-source 3d modelling & animation software running smoothly.
You can use small windows apps using an emulator. But don’t expect the full function of windows app support.
So it is very useful for basic office works, online learning & work from home purposes. It has inbuilt useful programming learning apps for students. You can edit basic pictures & do lite graphical jobs.
Gaming on raspberry pi 4
For gaming on this raspberry pi official, OS has some inbuilt games.
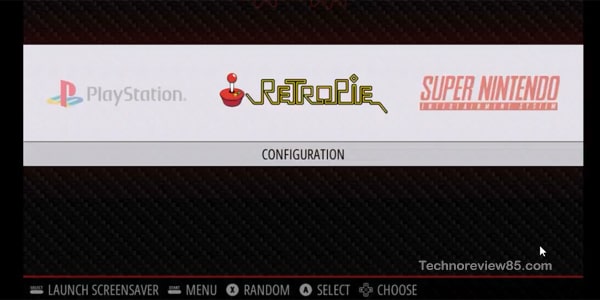
You can use Retro pi which can run many types of retro games like NES, SNES,
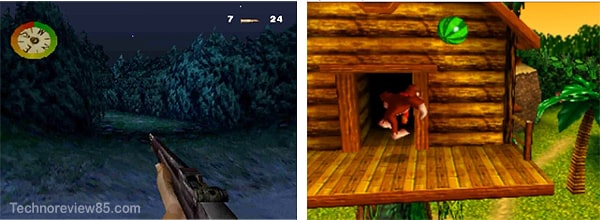
PSX, GBA, pc engine, PSP and many more games but don’t expect to play very high graphics latest games. It is not possible on this pc.
You need to make a raspberry pi 4 Desktop
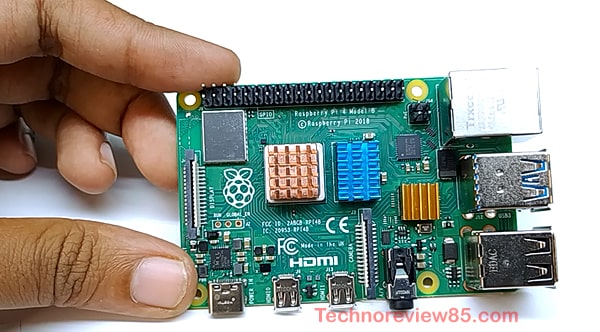
Raspberry pi 4 motherboards.
It is available different varients
Pi3,3b,4 etc. but I will recommend using a minimum raspberry pi 4 with 4GB ram for a better experience you can choose 8Gb ram also.
Heatsink for pi 4
3 amp smartphone charger & USB c type good quality data cable for power supply.
Raspberry pi case & fan
Class 10 micro Sd card, I am using 16 Gb you can use more.
USB mouse & keyboard.
Also, you can use a wireless mouse and keyboard.
Micro HDMI to HDMI cable.
Any Audio speaker & 3.5mm to 3.5 mm cable for sound output or you can use headphones.
Micro SD card reader.
A monitor or LCD tv
with HDMI port.
For retro pi gaming, you have to use a USB gamepad.
For first time operating system
For the installation, you need a windows computer or laptop.
This pc hasn’t any hard drive. Its OS will run from an SD card. If you want more storage space, you have to use a USB hard drive. But I am not going to use any hard drive.
All components come with a kit you can check here. I get a little commission for purchases made through links in this post
Raspberry pi 4 heatsink installation
At First, you have to install 3 heatsinks on raspberry pi.

Then insert raspberry pi board in the case
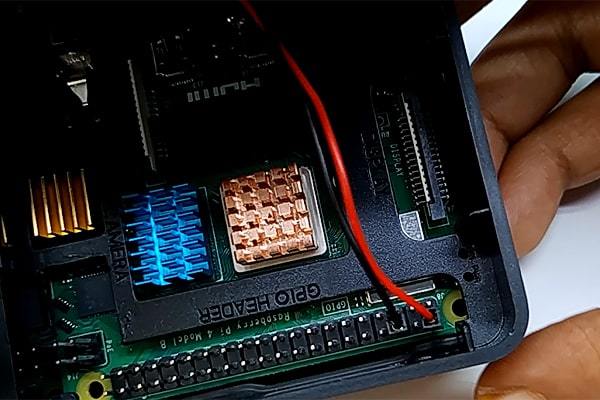
Raspberry pi 4 Fan installation
The fan is running on 5volt dc. We have to connect fan + (Red wire to GPIO 2) & fan negative – (Black wire to GPIO 6)
Watch the video for fan installation & connection
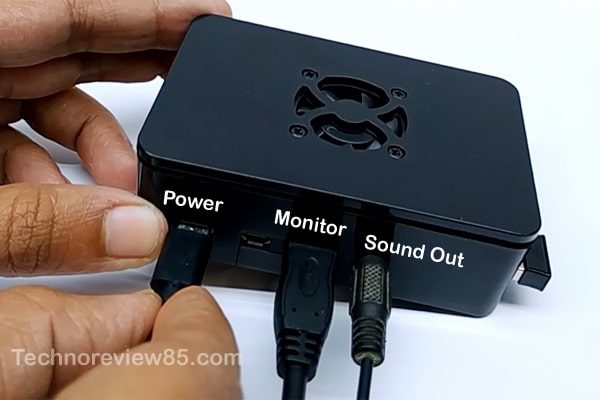
Connect monitor, mouse & keyboard,
Audio speaker. now the hardware part is ready.
Raspberry pi OS download & installation on SD card
We have to burn the operating system for raspberry pi on an sd card.
For burning os, we have to use a windows pc. It needs only for the first time, after that no need any other pc support.
Video tutorial for making Raspberry pi 4 desktop
Open your windows pc.
We have to download a free software for windows.
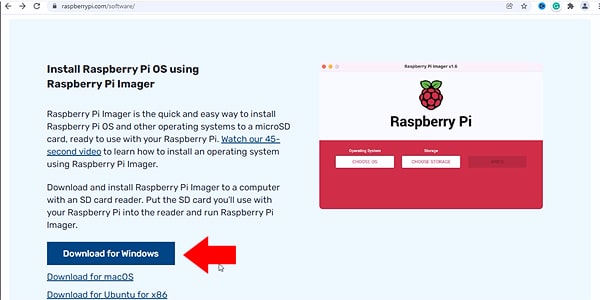
Download raspberry imager software for windows from here. You can download it also for mac & Linux.
Now download the latest version of the raspberry pi desktop image from here. It is the operating system of pi & it is free.
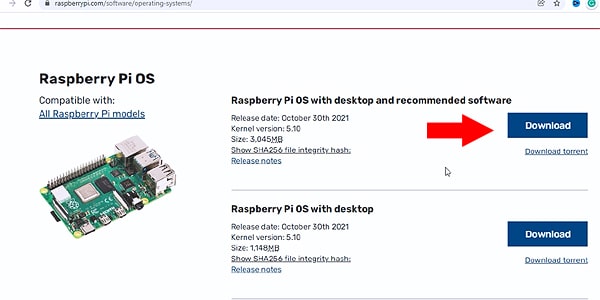
Download Raspberry pi os with desktop & recommend software.
Its size is near about 3….GB.
Now install the raspberry pi imager software on your PC. unzip the pi os zip file. When Unzip is done, here you can see the image file. Its size is about 8 GB.
Insert your Sd card using a card reader.
Make sure your card has not any important files otherwise all fills will be deleted from the sd card after image burning.
Open raspberry pi imager.
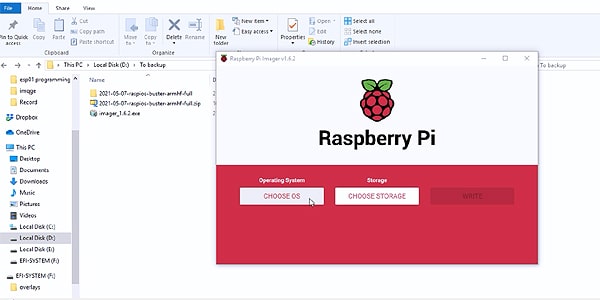
Choose Os – Now go to Use custom
Now select the image file which is unzipped – Click on open.
Now chose storage
Select sd card.
Here please be careful that you are choosing the right sd card.
Now click on write.
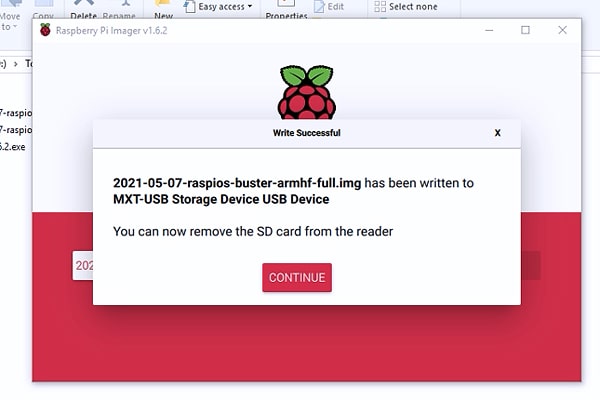
It takes some time when it is completed, click on continue.
Now insert the sd card on Raspberry Pi. Connect power & it is ready for work.
Now our raspberry pi desktop is ready for work.
You can install additional software using the command terminal.
Here we are discussed only for making a desktop computer using raspberry pi but raspberry pi can be used in also different types of projects.
It has GPIO pins like a microcontroller so we can do many more creative projects
By using some sensor with it.