
Here I am going to describe how you can make a very interesting Arduino project.
It is a clap switch. You can turn on & off your Electrical appliances like light, Fan remotely just by clapping.
When you clap for the first time the Relay module turns on the electrical appliances & next clap turns off.
We can make this project using 4 transistors which is a transistor clap switch circuit or using IC 4017 but we will make it more efficient & less complicated. We are going to use an Arduino Uno board.
Advantages of Arduino based clap switch
- It is easy for making
- It is error-free & better than an analog circuit
If you want to make it for regular use in your home then I will recommend, please use Arduino nano and make a circuit on a perf board.
You need to make
- Sound sensor module
- Single-channel relay module
- Jumper wire
- Small breadboard
- 9v battery & battery connector
- Ac wire, plug & ac bulb
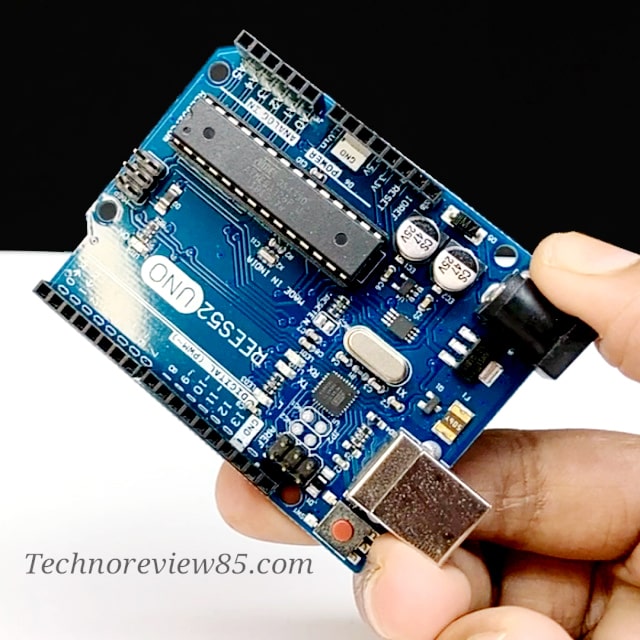
- Arduino UNO
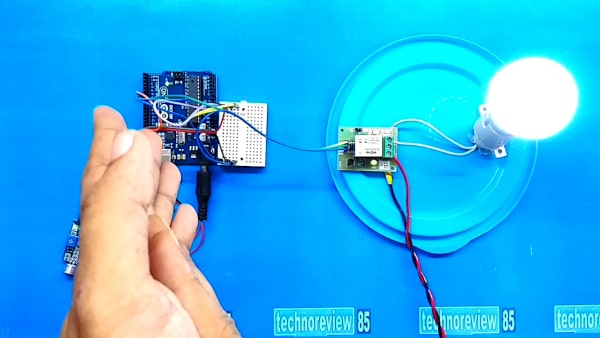
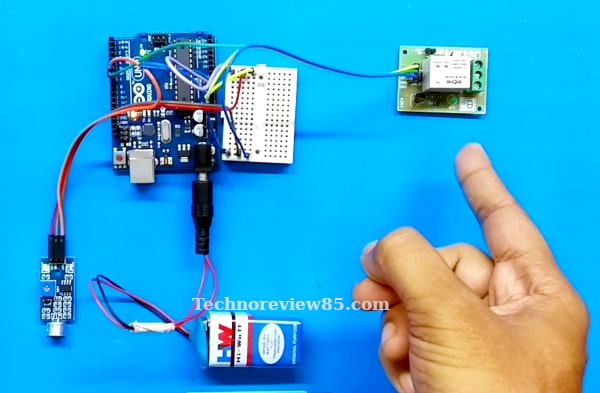
Connection
Connect sound sensor module(+)pin to Arduino 5V
Connect sound sensor module (-) pin to Arduino GND
Connect sound sensor module signal pin to Arduino D6
Connect relay module (+) to Arduino 5v & GND to GND
Connect relay module signal pin to Arduino D7 pin.
Circuit Diagram
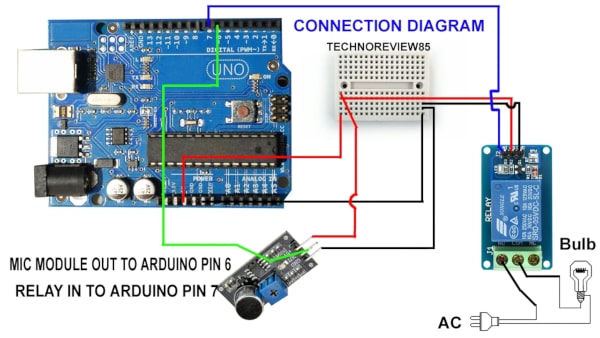
AC connection
Disclaimer for Ac Use
If you don’t know about Ac electrical connection please don’t try & take help from an experienced person.
Don’t touch the circuit when the AC line is connected.
Ac line is connected to the relay module. This relay module is working like a switch. Please follow the circuit diagram.
Working of the Arduino clap switch
Its working principle is very easy. when the sound sensor detects a louder sound, the signal pin is getting high for a few seconds.
The signal pin is connected to Arduino D6. It is an input pin.
So when the D6 is getting high then the D7 output (which is connected to the relay module signal pin) becomes high.
and
When the D7 is at the high position then if the sound sensor detects any louder sound then the output pin D7 becomes Low.
Video guide
Arduino Code for clap switch

Upload the Arduino code using Arduino IDE
int micPin = A0;          // pin that the mic is attached to
int gndPin = A1;
int powerPin = A2;
int micValue1 = 0;
int micValue2 = 0; // the Microphone value
int led1 = 13;
boolean lightOn = false;


void setup() {
  pinMode(led1, OUTPUT);
  pinMode(powerPin, OUTPUT);
  pinMode(gndPin, OUTPUT);
  pinMode(micPin, INPUT);
  digitalWrite(gndPin,LOW);
  delay(500);
  digitalWrite(powerPin,HIGH);
  Serial.begin(9600);  //for test the input value initialize serial
}

void loop() {
  micValue1 = analogRead(micPin);  // read pin value
  Serial.println(micValue1);
  delay(1);
  micValue2 = analogRead(micPin);
  Serial.println(micValue2);

  if (micValue1-micValue2 > 2||micValue2-micValue1 > 2){
  lightOn = !lightOn;
  delay(100);
  digitalWrite(led1, lightOn);
  }
}