
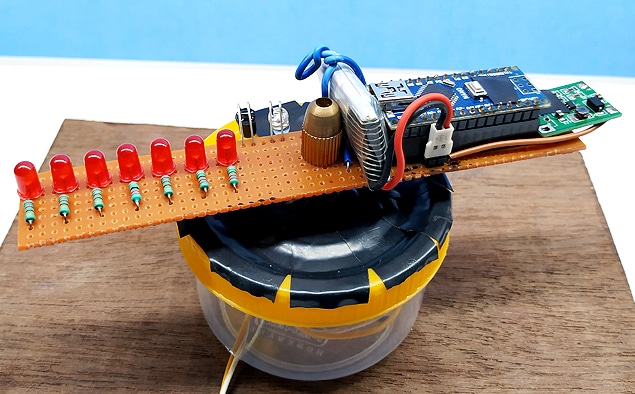
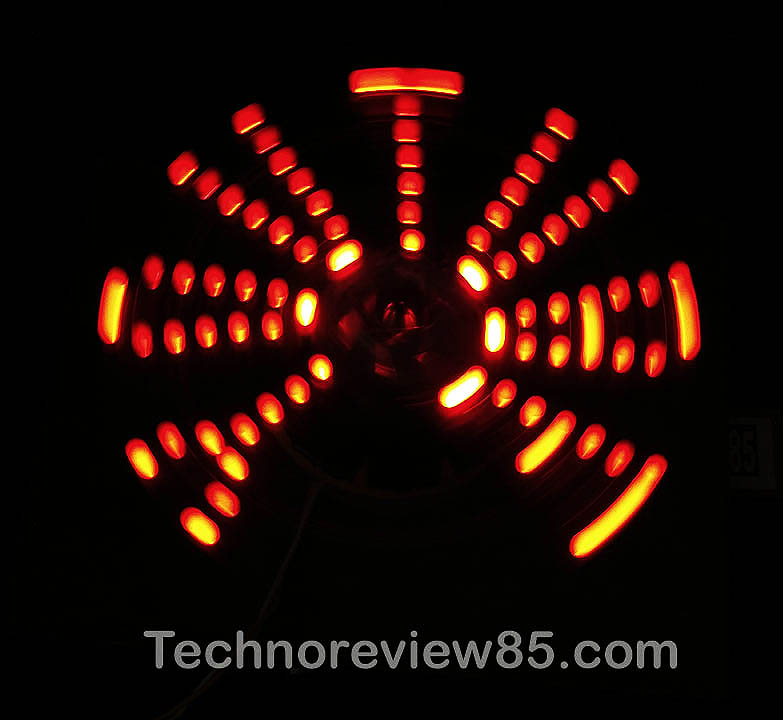
Hello guys in this article, I am going to tell you about the making an easy Arduino POV display. I have made a mini POV display using Arduino nano & 7 Red LED s.
Here is a speciality of this project. usually, we make a POV display using a big, high-speed Dc motor because our POV circuit runs on 9v or another little bit weighty battery. To move this heavyweight battery, Arduino & other components naturally we need to use a big motor but here is another problem for the big motor which is vibration. When we use a big motor to move a 9 volt or another heavyweight battery we are facing a lot of vibrations.
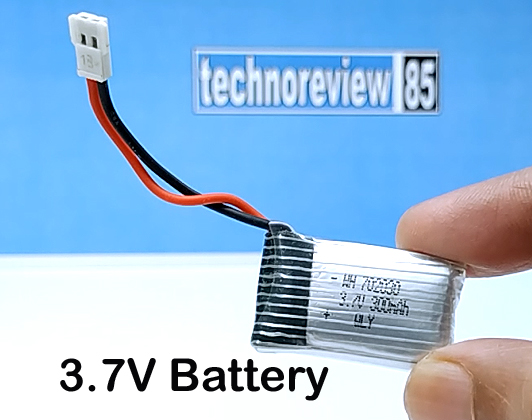
I am using a 3.7 v lightweight lipo battery for solving this issue but to run the Arduino nano we need minimum 5 volt DC. here I am using a 5-volt booster module to convert 3.7 volt to 5 volt.
You need to make
Vero board
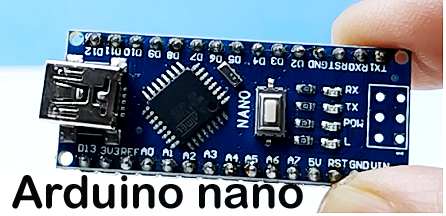
Arduino nano
Female header
5V Booster module ( Remove the USB socket)
3.7-volt battery
LED 7 pcs
220-ohm resistor 8 pcs
IR diode & IR Led
10K resistor
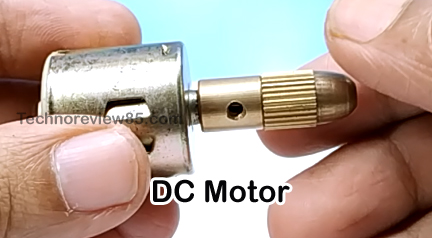
Mini Dc motor
Drill chuck
Plastic container
Plywood
Connections
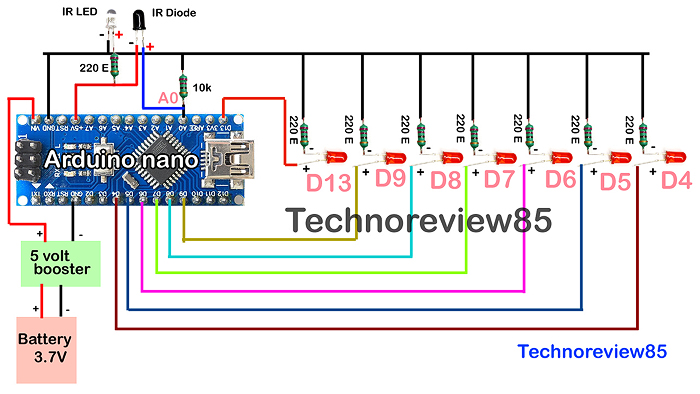
- Connect 220 ohms LED to each LED’s (-) pin
- Connect 10K Resistor to Arduino A0 pin
- Each LED 9 (+) connect to Arduino pin D4,D5,D6,D7,D8,D9,D13
- Battery (+) & (-) connect to 5 volt booster in-put
- 5 volt booster out-put (+) & (-) connect to Arduino 5v & gnd
- IR diode (+) pin connect to A0 of Arduino
- IR LED (+) to resistor 220 ohm & IR LED (-) to Gnd
Download code for Arduino pov display from here & upload it to Arduino nano
You can change the text which you want to show on display.
About construction
I used a small dc motor & it is Enough for moving the circuit. which is running on 3Volt DC
Insert the Ir diode & led together at a nearby location. It is working as an IR proximity sensor so when a white or light colour object comes to the sensor the LEDs will glow.
Here I used some black colour tape on the plastic container( please watch the video)
LEDs are glowing only when ir sensor is in a white or light color position.
How to write your customized text
To show up your customized text on this display open the Arduino code using Arduino Ide & edit with the following text. The default text is YOUTUBE
            Y();Sp();//TEXT write Here
            O();Sp(); // for a space use sp()
            U();Sp();
            T();Sp();
            U();Sp();
            B();Sp();
            E();Sp();
Now upload the code to the arduino nano
The Result
If you are going for most excellent contents like myself, simply visit this web
page everyday for the reason that it presents quality contents, thanks
What’s up to every , for the reason that I am in fact keen of reading this weblog’s post to be updated on a
regular basis. It contains pleasant stuff.
I really value your work, Great post.
Thank you, I’ve recently been searching for info approximately this topic
for a long time and yours is the greatest I have found out till now.
But, what concerning the bottom line? Are you positive in regards to the supply?
I like what you guys are up also. Such intelligent work and reporting! Keep up the excellent works guys I have incorporated you guys to my blogroll. I think it will improve the value of my web site 🙂
Where would I be able to purchase bespoke LEDs? This looks so complicated to make Myself.